I'm going to make this brief, as I don't want to relive it any longer than I have to.
After painting our master bath (way back when), we decided to install crown molding, partly because we thought it would look nice, and partly because we were too lazy to cut smooth edges and had to cover it somehow.
I picked up some nice chunky crown molding and was all gung ho to get this show on the road, when Brad had to remind me (once again) that our little miter saw wasn't big enough to make the cuts.
So after weeks of putting it off, I met a new blogger friend named Dennis, who kindly offered to stop by with his saw and help us finish this project.
I figured between the three of us, we could slap those babies up and be done in under 20 minutes. Then Dennis pointed out that crown molding is not like the flat molding/trim that you use for baseboard or board/batten projects... oh, no, it's an entirely different beast. It sits on both the ceiling and the wall, at an angle.
Suddenly this project went from simple 45' miter cuts to angles and miters in fractions and you have to turn it sideways and upside down and then backwards and inside out... WTF. It was even more confusing than that sentence. I watched every youtube tutorial I could find and they all had something different to say.
Finally, after about an hour, we had our first board up. We thought we were golden.
But then the next piece we cut did not fit. So we did about 200 more test cuts in every way possible, before realizing there was something wrong with the first board.
 |
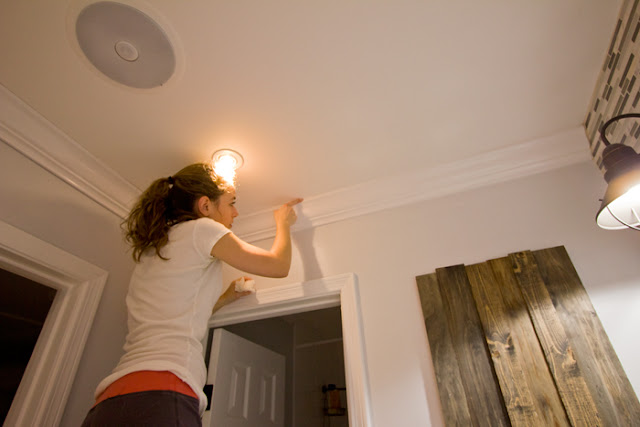
| Here I am, trying to visualize the cut angle with my hand |
Finally.. after over 2 hours... we had the first piece back in correctly, and we somehow managed to figure out the rest from there (after making every wrong cut before we got the right angle on each board).
And this was just a tiny bathroom with 90' walls! I can't believe people actually do this for a living.
Anyway, here's how it looked when we were done. Not perfect... but as good as it was going to get for us. It doesn't help that our walls are not straight.
We installed it in both the vanity area and shower room.
 |
| We had to get creative when it came to ending it at the shower |
Next came patching and sanding...
Then taping it all off and painting... (pretend there's a picture of this step here)
Finally, caulking it in to hide all of our gaps... caulk is magical.
And now we have shiny new molding!
The last and final element to this bathroom is framing my mirrors. This is another project I'm terrified of. If I make one wrong cut... it's all over.
Dennis cut some wood pieces for me with a notch in them so I can affix them to my mirrors. I stained them and they are all ready to go..
I'm going to try to force myself to do it tomorrow. We'll see how this goes...
On another note, we're in a serious drought here and the backyard lake water level is at an all time low. Brad therefore decided it was the perfect time to build us a little deck over the water.
Here he is setting the posts with neighbor Joe a few nights ago:
In the summer, the lake will fill up to about halfway up the bulkhead.
And here's the status as of a couple hours ago:
He's out there working on a few finishing touches right now, like rope LED lighting:
There was one big issue that had to be taken care of though.
It's the evil serpent plant from hell blocking our deck entrance. Seriously, it will kill your animals. This is what the plant removal guy said when he was over here giving us a quote earlier today. He said this plant will squirt deadly acid at you and stab you with its claws, so he wouldn't remove it for any less than $225.
Brad decided that was too much to pay, so he and the neighbors wrapped the thing in rope and luckily managed to uproot it without a fight. And now we are free of evil plants!
For around $500, we have a new deck to relax on... sip wine, watch the sunset and feed the pond animals...
Or not... haha.
When Brad was shopping for the decking supplies, I grabbed something of my own for my next project:
Any guesses as to what this could be for?
Here's a hint:
That's coming up soon! Along with hopefully the final master bath shots... and another scrap lumber project I've been working on.
Happy Weekend!


0 comments:
Post a Comment