
If you missed the first two posts, learn how to make Branchlers and grab some free holiday printables here, and find out how I made all of my tree ornaments here.
Today's project is one that I wasn't even sure I could pull off. It was a bit of a last minute idea, after only finding two different store bought sweater stockings I liked and wanting a third... because three just seemed better than two.

Can you tell which one was DIY'd?
If you guessed the one on the left, you win a free tutorial on how to make it!
It all started with this $5 thrift store sweater vest...

Not the cheapest thrift store find admittedly, but the buttons were just perfect and it was basically an exact color match to the other two.
Step 1: Trace and cut. I used one of the other stockings as a template and loosely traced it onto the back of my sweater in two different areas (I wanted this one to be a bit different so I made it longer and skinner). This is where I remind you that you're supposed to trace one backwards unless you want one side of your stocking fabric to be inside out.

Whoops. Good thing you only see one side of it when it's hanging, right? I was rushing through this project and didn't really think about it.
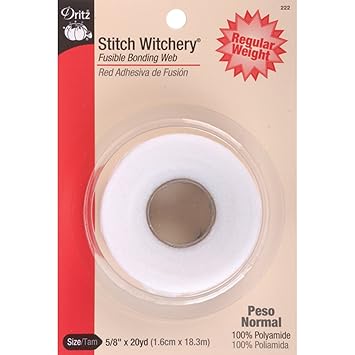
Next, grab your stitch witchery. I've used this stuff plenty of times on other fabric and had no idea if it would work or not on sweater material (Spoiler alert: it did).
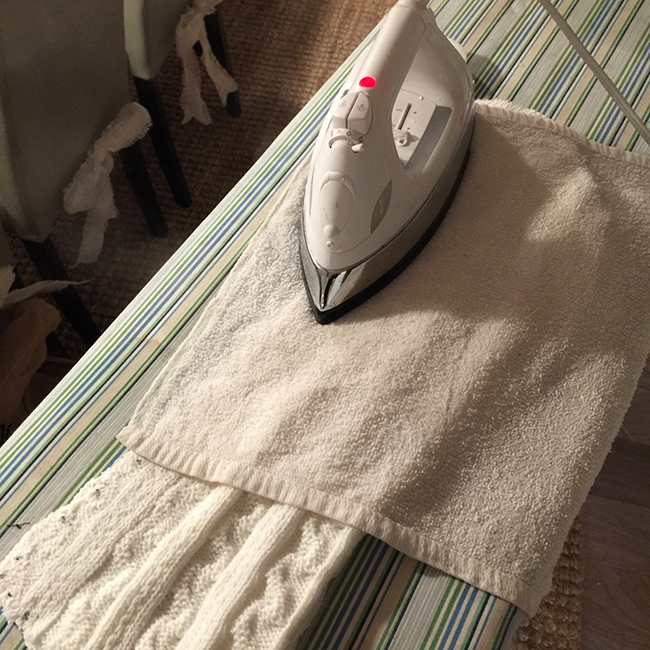
I proceeded to do this all along the edge of the stocking, leaving the top open.

This part will be the inside so it doesn't have to look pretty! I think the key here, especially with this material, is to let it cool completely before handling it too much as the seam can easily come undone it you pull on the fabric while it's still bonding.
I loved the buttons that came with my sweater and wanted to incorporate it onto the stocking, so I cut a strip of fabric where the button slits were to attach around the top of my stocking.

With the stocking turned inside out, I carefully folded back the top edge and lined it up with the edge of my top piece. I had to fold it back so that you wouldn't see the seam once everything was turned inside out.

It's a little tricky applying the stitching tape here, but it worked well enough. Here it is attached to the top:

At this point you're basically done! Here it is turned inside out:

The final step was to cut my strip off with the buttons. Then I simply buttoned it onto the stocking, folded down the top part and tucked the material inside.

There was an open edge where the two ends met so to keep it together I threaded some twine between both ends and tied a bow (which also doubled as a hanger).

I might actually like it more than the store bought stockings.

What do you think?

Another $5 + one hour project checked off the list! Anyone else make their own stockings this year? I kept finding these great tutorials but they all required sewing machines. I hope one day I'll learn/have time to figure out this sewing thing... until then, stitch witchery forever!
Don't miss Day 4's project, coming tomorrow!

0 comments:
Post a Comment